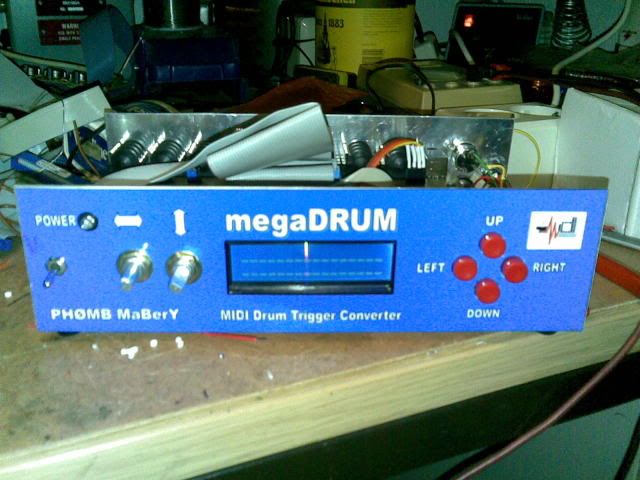
After struggling unsuccessfully with creating my own V2.5 board I ordered this kit, recieved it reasonably fast, and in a mere handful of hours have successfully soldered everything and assembed it into my 1U rack chassis. It really couldn't have easier or more successful. Buying the professional board is where it's at for sure as it's masked to help prevent poor soldering mishaps like bridging solder onto adjacent pads accidentally, etc. Seriously, a
HUGE thumbs up for the V2.8 board.

I would SERIOUSLY recommend anyone attempting a project like this for the first time to simply purchase one of these boards, or even an entire kit. It really simplifies the project so you don't have to source compatible parts from various vendors, etc. All you have to do is receive, sort them, do a little reading and comprehension, then solder. And solder. And a LOT of solder.

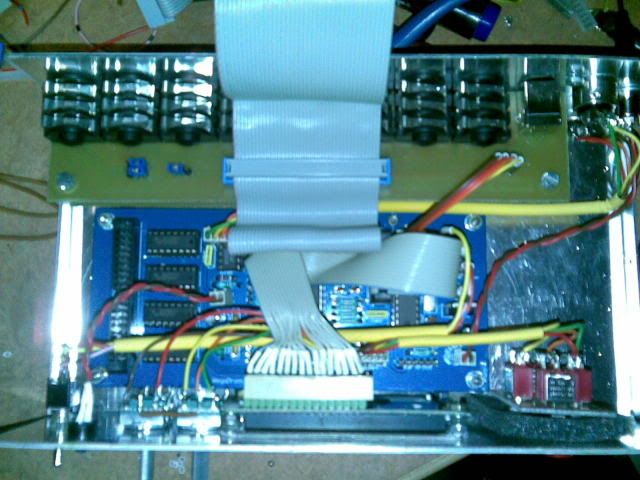
I did have a missing silk screen near the LCD resistor area and had to consult the screenshots of the board plus process of elimination to figure out which of my remaining resistors installed there.
Also, I did have two instances where solder pads and their respective traces physically lifted off the board (along with the solder mask). But luckily the traces didnt break off the board or the solder pad, and I was able to salvage the whole thing without any critical issues. But both times this occured when I attempted to de-solder, once using a braid (which I'll never use again) and once when using a desoldering gun with built-in bulb. I'm assuming too much heat, or something sticking to my implement and solder pad when I was pulling away. Either way I blame myself and not the board. But thought I'd mention it.
For the overall kit/packaging I would like to suggest simply labelling the various parts. Mouser sticks each part in a small zip bag with a sticker/label. So your 47k resistors are in a separate bag and clearly marked. That's probably more work than you want to take on packaging but you could probably expedite that by skipping the individual bags, getting some sheets of pre-printed stickers, and just sticking the stickers on the bundles of parts. But really that is very minor. The PDF makes identifying the various resistors pretty easy.
If I have one complaint/suggestion about the project overall is that there's still a distinct lack of consise documentation. The PDF provided was EXTREMELY helpful and well presented for the build. But there's still some nitty gritty details that could be added. Like how to know if you need hi/lo impedance for your HH pedal. I had to search the forums for the answer after I arbitratrily picked high and my pedal didn't work.
Currently, I'm on the hunt for documentation that details the trigger parameters, what they do, how best to set them, etc. And how to do that via the LCD/buttons on the chassis.Now that I'm past struggling with a non-operative board I'll try to fufil my original offer of aiding with the documention, if I can.
Thanks Synthex. I couldn't have done this without you and your board.